What is Orange Peel in Paint Spraying
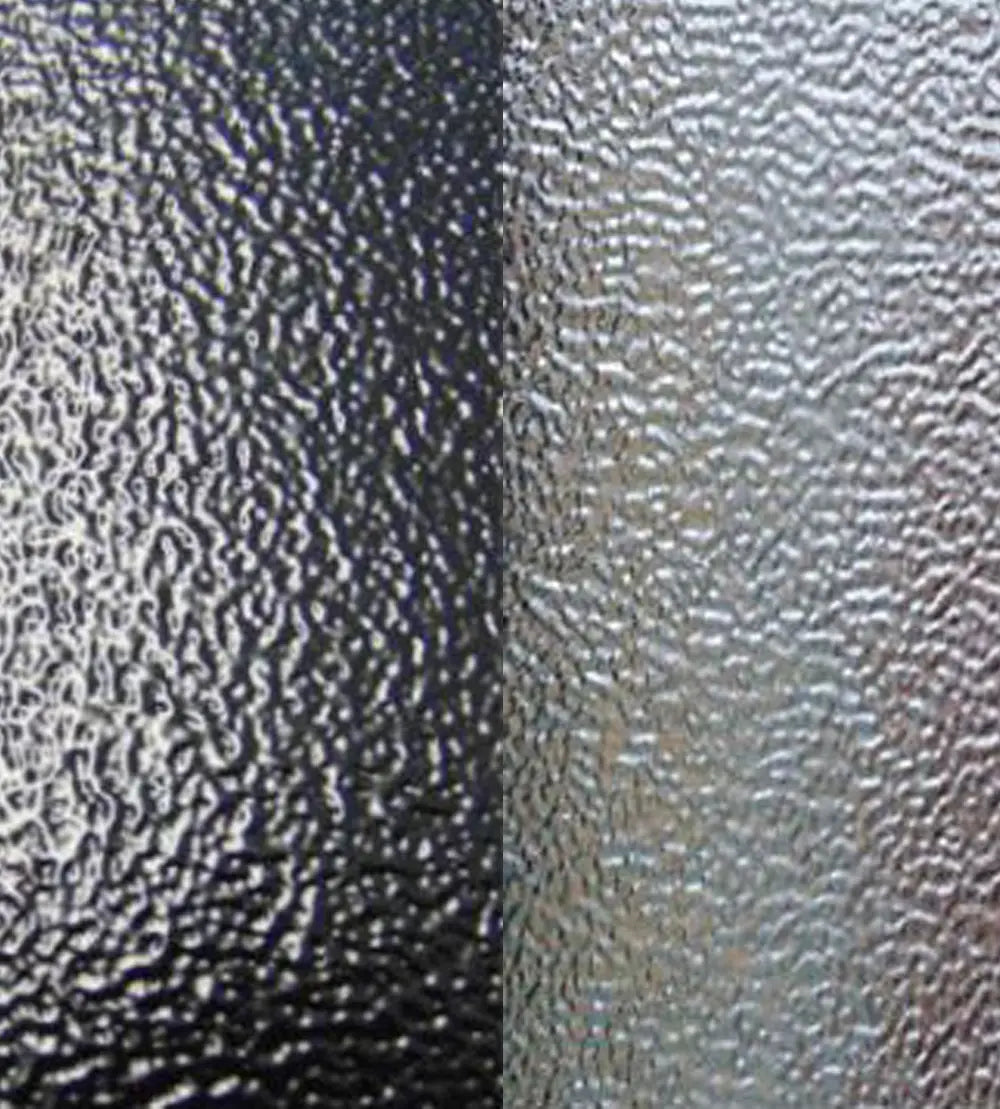
Orange peel is a paint defect that makes the painted surface look bumpy or textured, much like the skin of an orange or citrus peel. This effect happens when sprayed paint dries unevenly and forms small peaks and valleys.
Some reasons for orange peel include high paint viscosity, incorrect spray gun settings, or paint drying too fast on the surface. When paint droplets don’t join together properly, the finish stays rough instead of becoming smooth.
You might see orange peel on car panels, walls, or any surface that is spray painted. The problem can show up with different types of paint, such as lacquer, enamel, or water-based products.
Common Leveling Problems
Leveling problems are one of the main causes of orange peel. When paint "levels" correctly, it flows out flat and removes lumps and bumps on its own.
Common mistakes that lead to poor leveling include using thick paint, spraying from too far away, or applying paint in cold or dry conditions. Sometimes, the spray gun may not be set up right, which affects how the paint is delivered.
Here are quick tips that help:
-
Use the right thinness by following paint manufacturer instructions.
-
Adjust the spray gun pressure and the size of the nozzle needle cap kits to optimize atomization and coverage.
Paint in clean, controlled areas to avoid dust and drafts.
Key Causes of Orange Peel
Incorrect Spray Gun Setup
If your spray gun is not adjusted properly, it can lead to orange peel. Too much or too little air pressure will affect how well the paint sprays.
The distance from your spray gun to the surface matters too. Holding the gun too far away can dry the paint before it reaches the surface.
The spray pattern you choose also plays a big role. A pattern that is too narrow will lay too much paint in one spot, while a pattern that is too wide can create thin, uneven coats.
Make sure to check your nozzle size and air cap. An incorrect nozzle can stop the paint from breaking into even droplets, affecting fine atomization with reduced overspray.
Key tips:
-
Use the right spray gun settings for your paint type.
-
Adjust the air pressure according to the paint manufacturer's advice.
-
Keep a steady hand and a consistent distance from the surface.
Improper Paint Viscosity
Viscosity means how thick or thin your paint is. When paint is too thick, it can’t spread or level out as it should.
This makes it hard for you to spray smooth coats, and the paint will not flow together before it starts to dry. In contrast, paint that is too thin can run or sag.
Using a viscosity cup helps check if your paint is the right thickness. Follow the paint can or manufacturer's guidelines for thinning if needed.
If you skip this step, it is easy to end up with a textured finish that looks like orange peel or citrus peel texture.
Inconsistent Atomization
Atomization is when your spray gun turns liquid paint into very fine droplets. Poor atomization means the paint comes out in large drops, which do not blend well on the surface and create bumps.
Common causes include low air pressure, using the wrong spray tip, or moving the gun too quickly or slowly. If the air and paint are not mixing properly in the gun, you will see a rough finish.
Improve your atomization by:
-
Making sure your air pressure is steady and within the recommended range.
-
Choosing the right spray tip for the type of paint you are using.
-
Keeping your movements smooth and even across the surface.
Optimizing Process Parameters for Smooth Finishes
Adjusting Air and Ejection Pressure
You need to set the right air pressure at your spray gun. If the air pressure is too low, paint droplets stay large, and the surface may look bumpy.
Too high, and you get overspray and a waste of paint. Ejection pressure, or fluid pressure, also matters.
If there isn’t enough, the paint won’t flow out smoothly or evenly. Too much can create runs, sags, or uneven spots.
Here's what you can do:
-
Start by checking your paint manufacturer's recommended air and fluid pressures.
-
Try spraying a small test panel first.
Adjust the pressure in small steps, paying attention to both droplet size and coverage. Use a pressure regulator for more control.
Controlling Spray Pattern and Distance
The spray pattern should match the size and shape of your project. A spray pattern that’s too narrow means you’ll overlap strokes, which can create uneven texture.
Too wide, and the coverage becomes spotty or thin. Keep a steady spraying distance—about 6 to 8 inches from the surface.
Moving the spray gun too close can leave thick, textured paint. Spraying from too far away dries the paint before it lands, leading to rough surfaces.
Helpful tips:
-
Adjust the fan control on your spray gun to set the correct spray width.
-
Practice steady, even strokes with consistent speed and overlap (usually by 50% for each pass).
Clean the nozzle often to avoid clogging, which changes the spray pattern.
Preventing and Reducing Orange Peel in Powder Coating
Powder Particle Size Distribution
A good powder coating should have a mix of fine and coarse particles.
If all the particles are too big or too small, the coating can come out rough or bumpy. Fine particles help the powder melt and flow, filling in gaps to give a flat surface.
Coarse particles can cause texture problems, including bumps and orange peel.
You can check particle size by asking your supplier for a technical data sheet. If you notice orange peel, consider switching to a powder with a more balanced particle size distribution.
Maintaining Powder Stability
Storing your powder in a stable environment helps it stay fresh and easy to apply. Heat, humidity, and moisture can cause powder to clump or change texture, which leads to problems like orange peel.
You should store powder in a cool, dry place, away from direct sunlight and heat sources. Open containers should be sealed tightly after each use.
Handling powder gently also keeps the particles from becoming damaged or uneven. If you see signs like clumps or hard spots in your powder, it may be losing stability.
Regulating Surface Powder Thickness
Applying the right amount of powder is important for a smooth coat. If the surface powder thickness is too high, the paint can’t melt or flow out smoothly, creating orange peel texture.
To control thickness:
-
Use a consistent spray speed.
-
Adjust your gun settings if you notice heavy spots or lines.
Measure coating thickness using a gauge if possible. Thin, even coats usually level out better than thick, heavy ones.
If you find that your surfaces look bumpy, try lowering your powder feed or reducing the time you spend spraying. Getting thickness right can fix many appearance problems right away.
Environmental and Surface Preparation Factors
Getting the environment and surfaces right before painting makes a big difference. If you skip these steps, you may get orange peel, rough finishes, or other defects.
Paying attention to temperature, airflow, and pre-treatment helps you achieve a smooth, even coat with better adhesion of natural oils and solvents in the paint composition.
Curing Temperature and Leveling Time
Curing temperature and leveling time are two key factors when spraying paint. If the temperature is too high, the paint dries too fast and can’t spread out smoothly.
This causes orange peel texture. Too low, and the paint doesn’t cure well, which may lead to runs and uneven surfaces.
Key tips:
-
Always follow the paint manufacturer’s guidelines for temperature.
-
Most car and industrial paints work best around 70°F–80°F (21°C–27°C).
Let the paint sit long enough to level before baking or force drying.
Proper Ventilation
Good ventilation helps you avoid orange peel and create a safer work area. Poor airflow means solvents can’t escape.
This causes uneven drying and can trap contaminants in the paint. Proper airflow keeps a steady temperature and humidity in the area.
Use exhaust fans or a downdraft paint booth when possible. Keep doors and windows closed to keep dust out but make sure air is still moving out of the workspace.
Clean filters often, and don’t spray near fans blowing directly on your wet paint. If possible, test your airflow before starting any session.
Hold a ribbon or strip of paper and see how air moves near your work area.
Phosphating Film and Pre-Treatment
Before painting, treat the surface with a phosphating film. This step removes oils and rust, giving the paint a clean base and helping it to stick better.
Skipping this can lead to poor adhesion and increased risk of orange peel. Wash the surface to get rid of grease and dust.
Apply a phosphating solution with a spray or dip process. Dry thoroughly.
A passivation step may follow to improve corrosion protection. Check the surface.
It should look even and have no shiny or oily spots before painting.
|
Pre-treatment Step |
Purpose |
|
Cleaning |
Remove oil, dirt, and residue |
|
Phosphating |
Improve paint adhesion |
|
Drying |
Prevent moisture problems |
|
Inspection |
Ensure clean, even surface |
Techniques for Achieving a Smooth Finish
Using the right additives and finishing methods can greatly improve how your paint looks. You can get rid of bumps and rough spots by making small adjustments in your technique and materials, including ensuring the natural oils and solvents in the paint are balanced for optimal flow and finish.
Retarders and Varnish Use
Adding a retarder to your paint helps slow down the drying time. This gives the paint more time to level itself out, which reduces the chances of orange peel texture.
Most spray paint brands offer their own compatible retarders.
Table: Retarder Use Tips
|
Tip |
Description |
|
Amount |
Use only the amount recommended on the label |
|
Mix well |
Stir or shake retarder in thoroughly |
|
Check compatibility |
Ensure it works with your paint type |
A smooth finish is also easier to achieve by applying a high-quality varnish as the top coat. Varnish helps protect the color and adds a final glossy or satin layer that hides minor flaws.
Make sure the painted surface is clean before using varnish to avoid trapping dust, dried orange peel particles, or grit.
Wet Sanding and Repainting
Wet sanding is often used when the surface already has orange peel. To do this, use fine-grit sandpaper (1000–2000 grit) and plenty of water.
Move your hand in circular motions. Rinse sandpaper and the surface often to avoid scratching.
After sanding, the paint will look dull, but it will feel flat and smooth to the touch. If needed, you can repaint the area with thin, even coats.
This will help you build a fresh glossy surface. Finish by buffing with a soft cloth or using a polish made for your type of paint.
This final step restores shine and blends in the touch-up work. Always give the paint enough time to dry before handling or recoating.
Frequently Asked Questions
What steps can I take to avoid orange peel when using a rattle can?
Always shake the can well for at least a minute before use. Hold the can 8–12 inches from the surface and spray in smooth, steady strokes.
Apply light coats instead of heavy ones. Make sure each coat dries before adding another.
Try to keep the spray can moving to avoid too much paint in one spot.
What are the best methods to prevent orange peel in automotive paint jobs?
Use the correct spray gun settings for your paint. Check the technical data sheet for recommended air pressure and nozzle size.
Mix your paint according to instructions to make sure it flows right. Make sure the surface is clean, dry, and free of dust or grease.
Spray at the right temperature and humidity levels for best results.
How can I correct orange peel issues after painting?
Let the paint dry completely before any fixing steps. Wet sand the surface gently with fine-grit sandpaper, usually 1,500–2,000 grit.
After sanding, use a rubbing compound and a soft cloth or buffer to bring back the shine. Always clean the surface between steps to avoid scratches.
Can you explain the primary factors that lead to orange peel in spray painting?
High or low air pressure can cause paint not to lay flat. Using the wrong thinner or not mixing paint well also leads to rough finishes.
Holding the sprayer too far or too close, spraying at the wrong angle, or painting in poor weather can make orange peel worse.
Are there specific techniques to prevent orange peel when working with single stage paint?
Always use the right reducer for the temperature in your workspace. Mix single stage paint thoroughly and follow the recommended spray gun settings.
Spray in thin, even coats and avoid overloading the surface. Work in a dust-free area to help the paint settle smoothly.
What's the best way to address orange peel effects on wooden surfaces?
Sand the wood smooth before painting. Wipe off all dust and dirt.
Use a primer if needed. Spray with light, even coats and allow each layer to dry.
Wet sanding between coats can help achieve a flatter finish. Use a clear topcoat if you'd like more shine.
Share:
Split Nozzle Technology for Spray Guns: Boosting Efficiency and Precision
Pre-Application Guide for Pneumatic Paint Spray Guns: Easy Steps For A Perfect Finish Painting