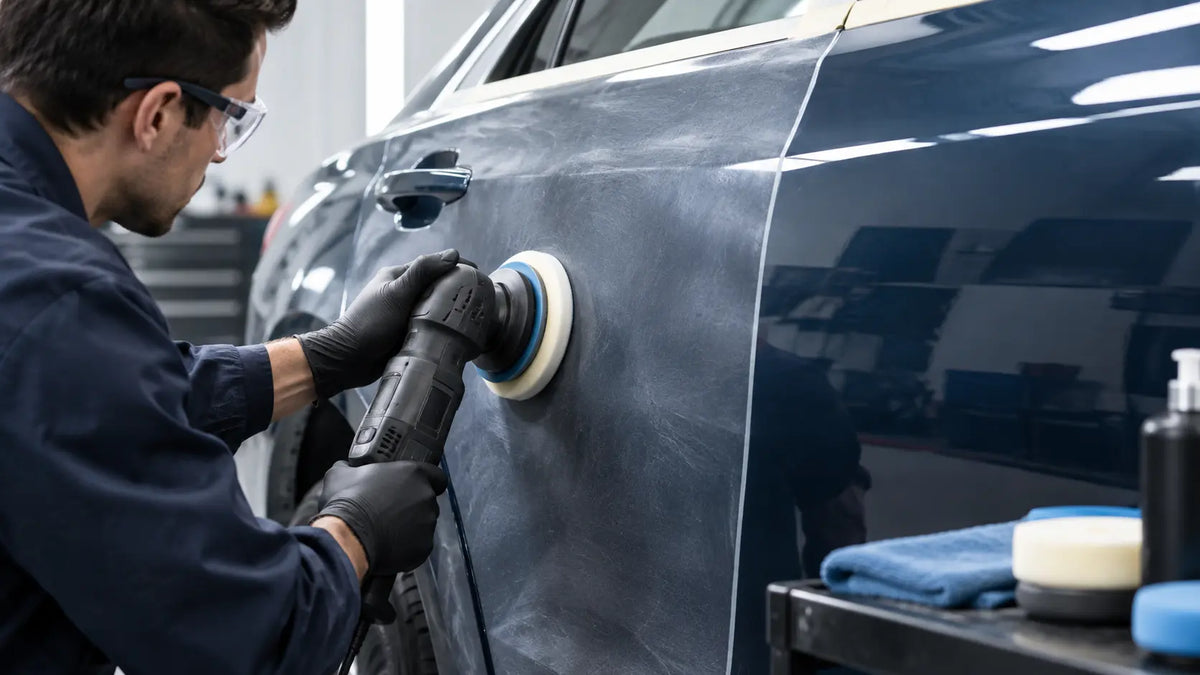
Haze after wet sanding and buffing needs a closer look before another cutting pass. A finishing polish may remove light micro-marring, while visible sanding scratches may need a different abrasive sequence. Residue can imitate both. If the clearcoat has been damaged or sanded through, further polishing removes more of a coating that already needs repair.
Start by cleaning a small inspection area with a product approved for the finish. Let it dry, then examine it under a focused light and from more than one angle. The pattern left behind is more useful than how glossy the panel looks from across the shop.
Identify the Haze Before Cutting Again
Wet sanding deliberately leaves scratches. Compounding should remove the appropriate sanding pattern, and finishing polish refines the finer marks that may remain. A defect at one stage cannot always be corrected by repeating the next stage for longer.
|
What you see after cleaning |
What it may indicate |
First decision |
|
Cloudiness changes substantially after wiping |
Compound or polish residue |
Reinspect the clean finish before abrading |
|
Fine marks follow the sanding direction |
Sanding scratches remain |
Check the final abrasive and compound capability |
|
Fine haze appears after cutting |
Polishing micro-marring |
Test a finishing polish with a clean pad |
|
Curved trails show under direct light |
Rotary holograms or other polishing marks |
Review the pad and finishing technique |
|
A local patch changes sharply in colour or appearance |
Possible coating damage or breakthrough |
Stop cutting and assess the affected layers |
These are inspection clues. A photograph or a change in gloss alone cannot establish how much sound clearcoat remains.
How to Remove Haze From Clear Coat After Polishing
Start with a small test area
Confirm that freshly applied clearcoat has reached the paint manufacturer's polishing stage. A surface that feels dry may still be too soft for correction. Choose an area that lets you assess the result without repeatedly working an edge or body line.
For light micro-marring, try a suitable finishing polish and a clean finishing pad. Use the machine and pad instructions for speed, pressure and movement. Wipe away residue and inspect again. If that restores clarity, there is no reason to begin with a heavier cut elsewhere on the panel.
Match the cutting step to the marks
If the test leaves a clear sanding pattern, check which abrasive was actually used and whether the compound is designed to remove those marks. A fine finishing polish may be the wrong tool for that job, even after several passes.
Use an appropriate cutting system only when the coating condition permits it. Reinspect before adding more pressure or repeating the process. If progress is poor, check pad loading, contamination and scratch depth. Repeated cutting without an explanation can consume clearcoat without resolving the defect.
Finish and inspect the clean surface
After the sanding marks are removed, refine any cutting haze with the matched polishing stage. Keep pads and towels clean and follow the correction system's process. Abrasive debris carried into a finishing step can add new scratches.
Check the result with residue removed. A wet panel or an oily product film can make remaining marks harder to see. The 3M full-panel finishing procedure includes inspection after compounding and a final light check, which is a useful reminder to judge the exposed finish rather than the residue over it.
Is 2000 Grit Too Coarse Before Buffing
Not automatically. What matters is the complete abrasive and polishing process, plus whether the clearcoat can safely tolerate it. Keep the abrasive's grade designation and product name when recording the job; a bare number leaves out useful information.
For example, 3M's full-panel procedure starts with P1500 or P2000 finishing film, refines the scratches with grade 3000 Trizact, and offers grade 5000 as an optional further step before its compound and polishes.
|
Stage in that 3M procedure |
What the stage does |
|
P1500 or P2000 finishing film |
Removes permitted defects and matches texture |
|
Grade 3000 Trizact |
Refines the initial sanding marks |
|
Optional grade 5000 Trizact |
Further refines the 3000 marks to reduce buffing work |
|
Matched compound and polishing stages |
Removes and refines the remaining abrasive pattern |
That example does not make the sequence suitable for every finish. Another compound may support a different final sanding grade. Nor does a finer abrasive make repeated sanding harmless. Follow the chosen system and stop when the defect has been corrected.
When to Stop Sanding or Buffing
Edges, raised lines and previously corrected areas deserve particular care. Avoid dwelling in one place, check pad condition frequently and stop if heat or appearance changes unexpectedly. Use the correction product's operating guidance rather than copying a machine speed from an unrelated process.
Pause for assessment if a patch looks sharply different after cleaning, basecoat appears exposed, the film remains soft, or lifting is present. There is no reliable universal number of sanding or polishing passes that proves another pass is safe.
Can Hazy Paint Be Fixed Without Repainting
It can, when the problem is removable residue or correctable surface marks in an intact clearcoat. The test area should demonstrate a useful improvement without requiring excessive removal.
A missing or unstable clear layer needs a different repair. The affected finish may require preparation, restoration of damaged colour and new clearcoat. Our paint prep before basecoat guide covers the preparation stage if the repair reaches the colour layer; the coating system determines the actual repair boundary and sequence.
If refinishing is required, the PRD-717 spray gun has 1.3 and 1.4 mm nozzle options. Select the configuration for the chosen material and check a test pattern before the panel. Review the 2K clear coat safety guide before spraying; products containing isocyanates require appropriate spray controls and respiratory protection.
Frequently Asked Questions
Should I compound again if finishing polish leaves haze
First identify what remains. Visible sanding scratches may require a suitable cutting stage; fine micro-marring may call for a different finishing pad or technique. Repeating an aggressive step without that distinction can add unnecessary removal.
What grit should I finish with before compound and polish
Use the final abrasive grade specified by the selected correction system. Some compounds remove a coarser pattern directly, while other processes require refinement first. The coating must also be suitable for the proposed sanding.
Why does haze return after I wipe the panel
Residue or fillers may have made the marks less visible. Inspect with a compatible cleaning product after each test so that the correction is assessed on the finish itself.
Will another coat of clear hide the sanding haze
Do not use a new clear layer to cover an unresolved defect. Establish whether polishing is still appropriate or whether the finish needs preparation and refinishing, then follow the paint system's repair procedure.
Udostępnij:
How to Fix Burn Throughs Before Painting a Car
Gold Metallic Paint Mottling on a Hood and How to Fix It