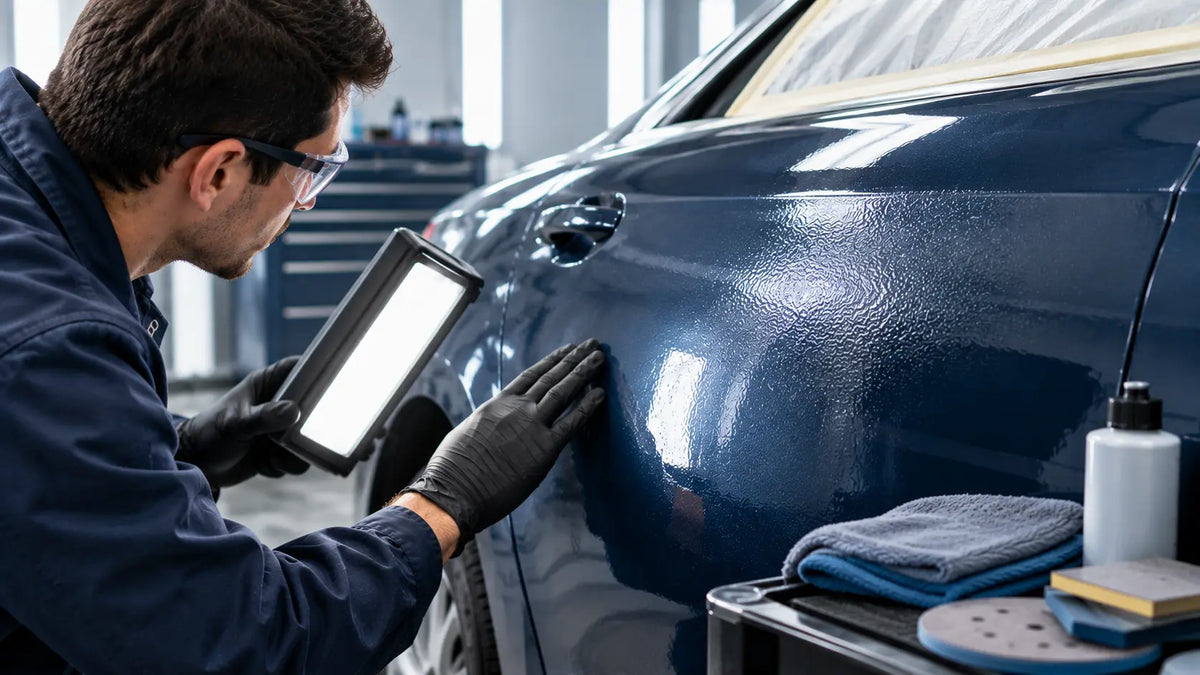
Clear coat dry spray leaves a rough, grainy film because the sprayed material has not arrived and flowed together as it should. The cause may involve distance, atomization, material delivery or conditions that make the coating dry too quickly.
Start with the pattern of the defect. A dry edge beside a smooth centre suggests a different check from roughness across the whole panel. An extra heavy coat can add runs or excess film build while leaving the original cause in place.
Identify the Roughness Before Adjusting the Gun
Dry spray and orange peel can occur together, but they describe different surface features. Dry spray tends to look sandy or powdery; orange peel is an uneven, more continuous texture. Dirt and overspray can also leave a rough surface.
|
Where the roughness appears |
What to consider |
First check |
|
Across most of the panel |
Material preparation or general setup |
Mixture, nozzle condition and working pressure |
|
In narrow bands between passes |
Uneven deposit or overlap |
Fan distribution, travel speed and pass spacing |
|
Around an edge or return |
Gun angle, distance or adjacent overspray |
Whether the gun arcs away from the panel |
|
As rounded peaks in a continuous film |
Orange peel or poor leveling |
The coating's application and drying conditions |
|
Beneath otherwise smooth clear |
A defect in the colour or substrate |
The layer where the texture began |
Use the coating's appropriate inspection stage and view the dry result under consistent lighting. The table narrows the investigation; it does not establish a cause from appearance alone.
Check the Application Before Adding Material
Read the clearcoat's technical data sheet before turning the controls. Confirm the product, mixture, approved activator and reducer, working conditions and gun guidance. Incorrect components or viscosity cannot be reliably corrected by adjusting pressure.
Check pressure while air is flowing
Measure at the point specified by the gun manufacturer with air flowing. A compressor regulator reading is not necessarily the pressure available at the gun during application. Hoses, fittings and restrictions can affect delivery. See spray gun air pressure regulation for the supply checks.
Excessive pressure can increase overspray and contribute to a dry deposit. Too little pressure can leave poor atomization. Work within the approved setup and test the pattern rather than treating lower pressure as an automatic cure.
Check delivery and movement together
Clean the air cap and nozzle using the gun's maintenance instructions. Check for an uneven fan, blocked passages or inconsistent delivery. Once the pattern is sound, compare fluid output with travel speed and overlap.
A fast pass with too little material may leave insufficient deposit to flow. Slowing down without considering delivery can create a heavy band. Keep the gun perpendicular and use its specified working distance; avoid swinging farther away as the pass reaches an edge.
|
Variable |
What to verify before changing it |
|
Nozzle and air cap |
Correct matched parts, clean passages and no visible damage |
|
Working air pressure |
Measurement under flow and sufficient air delivery |
|
Fluid and fan controls |
Even distribution suited to the coating and pass speed |
|
Distance and angle |
A steady perpendicular position throughout the pass |
|
Activator and reducer |
Approved selection for the material, job and temperature |
|
Booth conditions |
Operation within specified temperature and extraction requirements |
Account for the environment
Hot conditions or unsuitable airflow can change how the material reaches and levels on the panel. Select only the activator and reducer permitted for that clear and the conditions. Extra thinner is not a substitute for the correct component choice.
Do not turn off required extraction to keep the film wetter. The booth and coating process must work together. Review the 2K clear coat safety guide and product SDS before spraying isocyanate-containing materials.
Repair Fresh and Cured Clear Differently
During the permitted coat sequence
If the clear is still within its approved application process, correct the identified setup issue before the next permitted coat. Observe the required flash and overall film build. A surface that has begun to set should not be re-wet with an improvised pass of solvent or heavily reduced clear.
When the window or procedure is uncertain, use the product's repair guidance. A wet-looking surface does not establish that another coat is permitted.
After the clear reaches its repair condition
Assess adhesion, texture depth and the clear available for correction. Mild surface roughness may be suitable for a specified sanding and polishing process. Severe dry spray, inadequate build or unstable coating may require preparation and refinishing.
Avoid sanding until the roughness disappears without checking what remains underneath. If the repair reaches the basecoat, restore that layer as its system requires before clearing. Edges and body lines deserve particular care.
Check Whether the Problem Started Under the Clear
Clearcoat can make existing basecoat texture, stripes or metallic clouds more noticeable. It does not reliably repair them. If the surface is smooth but the colour still looks patchy, investigate the colour layer rather than changing clearcoat settings.
For the earlier substrate checks, see paint prep before basecoat. Resolve sanding scratches, unstable edges and colour defects at the appropriate stage. A later loss of gloss or emerging repair outline also needs a separate assessment of drying and the underlying layers.
Validate the Setup on a Test Panel
Use the intended material and comparable conditions. Record the mixture, nozzle, working pressure and application method. Change one supported variable, repeat the pass and inspect after the specified drying stage. This makes the result more informative than changing several controls at once.
The PRD-815 lists 1.2 and 1.3 mm nozzle options and a 1.6–2.0 bar operating range. Select a configuration that the coating guidance supports, and verify the pattern and material delivery. Those specifications do not make either nozzle appropriate for every clear.
Frequently Asked Questions
Will lowering pressure always stop dry spray
No. It may help an over-atomized setup, but inadequate pressure can worsen atomization. Check material, nozzle, delivery and distance alongside the working pressure.
How many coats prevent dry spray
There is no preventive coat count. Use the clear's specified schedule and achieve the required deposit and flow within it.
Can dry spray be buffed out
Minor surface defects may be correctable after the required cure if enough sound clear remains. Coarse texture or compromised coating can require refinishing.
Is clearcoat shrink back the same as dry spray
No. Later gloss loss or visible underlying texture may involve drying, solvent retention or substrate preparation. Identify that defect before choosing a repair.
Compartilhar:
Melhor Pistola de Pulverização VS? Obtendo Acabamento Impecável com PRD-817