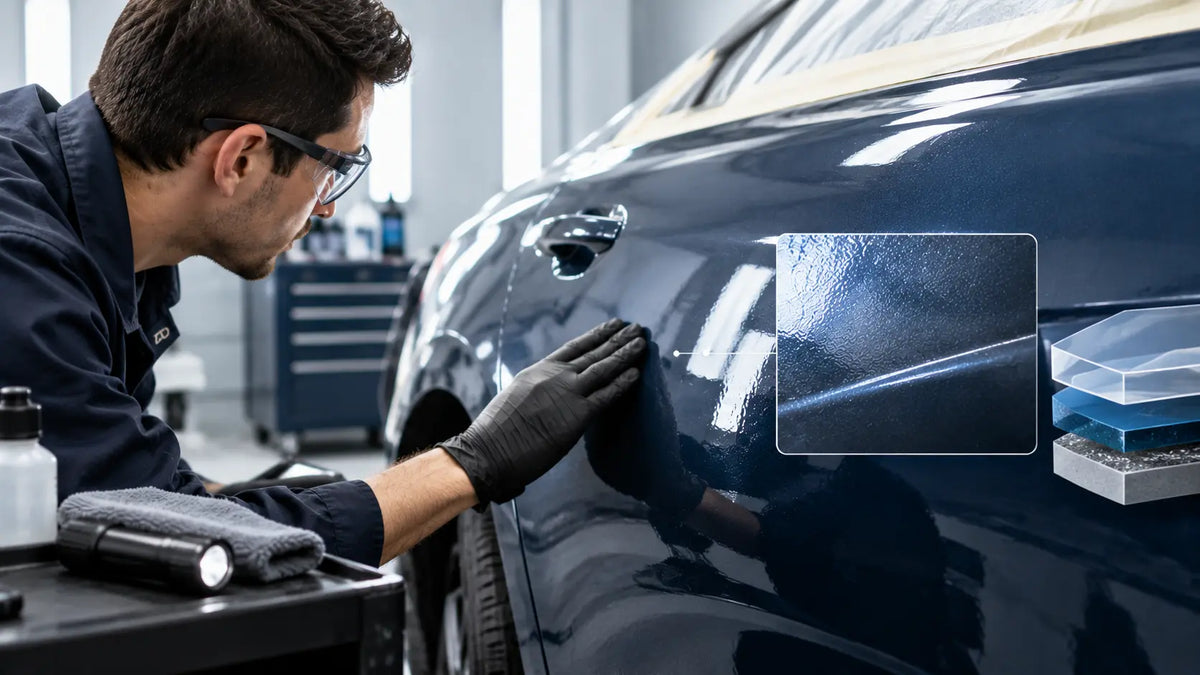
A glossy panel can still have too little clearcoat. A dull panel may simply be covered in sanding scratches. Before deciding that the clear coat is too thin, establish what was applied, what has already been removed and which layer contains the visible defect.
If sanding has exposed the colour layer, or the remaining clear cannot be assessed well enough for further correction, stop removing material. Repeatedly chasing a smooth reflection can turn a limited repair into a much larger refinish.
What Thin Clearcoat Actually Means
For a refinish, the relevant target is the clearcoat manufacturer's specified dry-film build and application process. The coat count alone does not establish that target. Two light coats and two correctly applied coats can leave different amounts of material on the panel.
The condition of an older finish is harder to establish when its repair and polishing history is unknown. Inspect for peeling, edges worn through, sanding damage and previous repairs. Gloss, colour depth and a smooth feel cannot quantify the clear that remains.
Know What the Thickness Gauge Measures
A conventional magnetic or eddy-current paint gauge used on a metal panel generally reports total coating thickness above the metal. It does not separately identify primer, basecoat and clearcoat. A high total reading can include an earlier repair; it does not establish a generous clearcoat allowance.
DeFelsko's automotive measurement guide distinguishes total-coating instruments from equipment capable of resolving some individual layers in suitable applications. Use an instrument appropriate to the substrate and coating stack, and understand its limits before interpreting the result.
Take repeat readings at relevant locations, check instrument verification and keep the repair history alongside the measurements. Do not subtract a guessed primer thickness or a door-jamb reading and call the remainder clearcoat. If the layer cannot be measured independently, retain that uncertainty in the correction decision.
Separate Film Build From Surface Appearance
|
Observation |
Possible explanation |
What it does not establish |
|
Dullness immediately after sanding |
Abrasive marks scatter the light |
That the clear is necessarily too thin |
|
Texture remains between sanded high spots |
Orange peel has not been fully leveled |
That enough clear remains to keep sanding |
|
Haze disappears when wetted |
Water temporarily changes surface reflection |
That the defect is repaired or safe to remove |
|
A sharp colour change at an edge |
Possible breakthrough or layer damage |
The depth and extent of the repair |
|
Patchy colour beneath smooth clear |
Basecoat hiding or effect variation |
That extra clear will correct the colour |
Clean the panel and evaluate it fully dry under consistent inspection lighting. Residue can obscure the surface. A coloured sanding slurry can be significant on a known basecoat-clearcoat system, but single-stage paint or tinted clear changes its meaning. Identify the coating before drawing a conclusion.
Should You Keep Sanding the Orange Peel
Remaining orange peel means that the surface still has texture; it is not an instruction to remove more clear. Consider the depth of the texture alongside the amount of sound coating available.
Where the coating is suitable for correction, use a controlled test area and the approved abrasive and polishing sequence. Inspect the dry result before extending the process. Avoid repeated pressure on edges and body lines. A small improvement in flatness is not worth creating a breakthrough.
For a thin or uncertain finish, preserving some texture may be preferable to aggressive leveling. If an acceptable result requires removing more than the film can support, plan a prepared refinish. Polishing cannot replace the protective material already lost.
Decide Whether the Panel Can Be Recleared
Sound existing clear may be suitable for recoating under the paint system's repair procedure. That requires a compatible coating, the correct preparation and a suitable underlying film. It is different from spraying fresh clear directly over an untreated old finish.
|
Existing condition |
Decision before more clear |
|
Sound coating within an approved application window |
Follow the stated flash and next-coat procedure |
|
Cured sound clear outside that window |
Use the specified cleaning, abrasion and recoat process |
|
Clear sanded through into colour |
Assess the basecoat and restore it as the system requires |
|
Peeling, unstable or contaminated layers |
Remove unsound material and rebuild the approved coating stack |
Do not use another coat to bury an unresolved colour patch or metallic cloud. Inspect hiding and effect before clearing; our metallic basecoat inspection guide explains why viewing angle matters. If sanding has damaged the colour, use the system's basecoat repair sequence and its final flash requirements.
The paint prep before basecoat guide provides the broader preparation sequence when the colour layer needs renewal. The selected products control the final sanding grade and the permitted substrates.
Build the Replacement Film to Its Specification
Before spraying, check the clear's specified mixture, activator, reducer, nozzle, coat schedule, flash, film build, drying conditions and recoat procedure.
Extra coats can cause runs, solvent-related defects and longer curing. Achieve the specified build within the product's application process.
Record the product and application used for a fresh refinish. That record gives the next assessment more useful information than a memory that the panel received “a couple of coats.” Evaluate the cured result at the stage specified by the manufacturer.
For a compatible refinish setup, the PRD-717 lists 1.3 and 1.4 mm nozzle options and a 1.3–1.8 bar operating range. These are gun specifications, not proof of the film build achieved. Match the setup to the clear and validate the application on a test panel.
Review the 2K clear coat safety guide and product SDS before spraying. The repair needs the specified spray environment and respiratory controls as well as the correct paint process.
Frequently Asked Questions
How many coats of clearcoat are enough
Use the selected clear's coat schedule and dry-film requirement. Counting coats cannot confirm the deposited thickness, especially after sanding and polishing.
Can white spots after wet sanding be polished out
Surface sanding haze or residue may respond to the appropriate finishing process. Breakthrough, internal cloudiness and adhesion failure need different treatment. Diagnose the spot before further abrasion.
Can more clear fix poor basecoat coverage
Clear adds gloss and protection, not the missing colour. Restore hiding or metallic appearance at the basecoat stage before clearing.
Is there one safe gauge reading for wet sanding
No universal total-paint reading establishes a safe clearcoat allowance. The substrate, layer structure, coating specification and prior material removal all matter.
Udostępnij:
How to Fix Fisheyes in Clear Coat