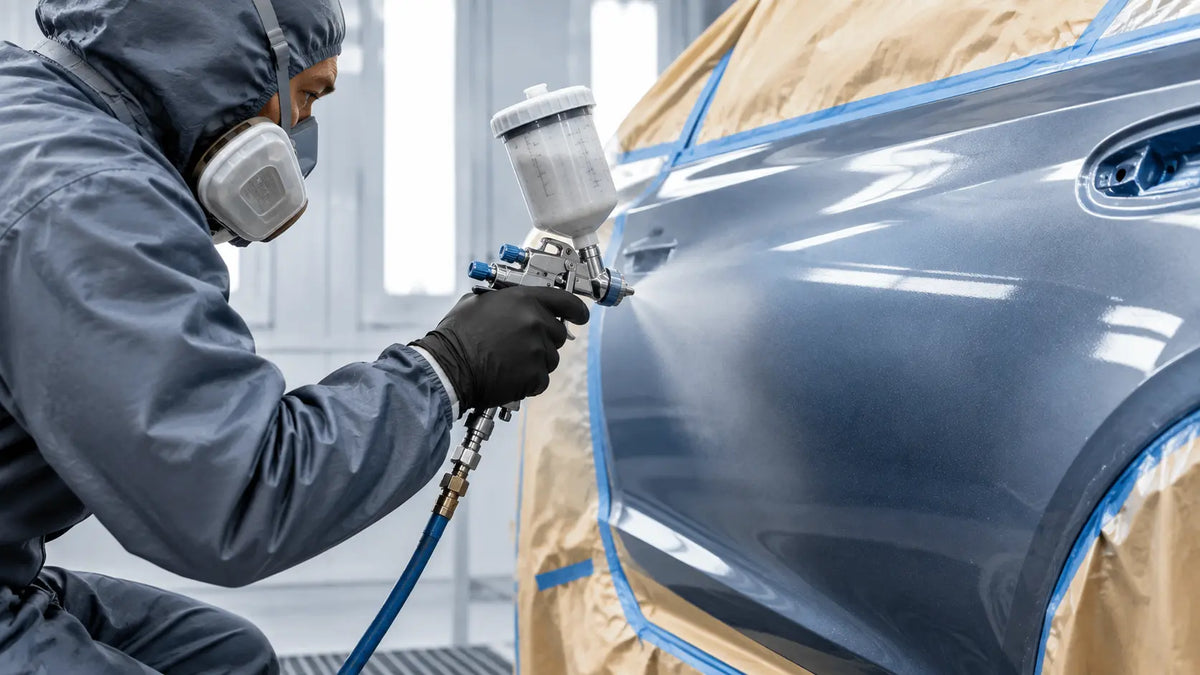
Automotive blending is a refinishing method used to transition new basecoat into an adjacent prepared area so the repair does not end in a sharp, visible color boundary. It is useful for spot repairs, metallic and pearl finishes, aged paint, and adjacent panels where a full-panel color change would be unnecessary.
Blending does not hide a poor color match or incomplete preparation. It works when the formula is accurate, the repair is stable, the blend field is prepared correctly, and the painter controls the spray pattern and film build.
|
Blending helps when… |
It cannot solve… |
|
A repair does not require a full-panel color change. |
An incorrect color formula. |
|
Metallic or pearl pigments make a hard boundary easy to see. |
A contaminated or unstable substrate. |
|
Existing paint has aged or faded compared with the formula. |
Poor preparation or an unresolved contour problem. |
|
The adjacent area can be prepared and cleared under the product procedure. |
A clearcoat edge placed where the system does not permit it. |
How to Blend Car Paint for an Invisible Transition
1. Confirm the color match before painting
Start with the correct paint code and formula, then make a spray-out card using the same material preparation and application method planned for the vehicle. Compare the card with the panel under suitable light and from several angles.
Metallic and pearl colors need more than a straight-on color check. A formula that looks close from one angle may look too light, too dark, too coarse, or too fine from the side. Widening the blend field cannot reliably compensate for a fundamentally wrong match.
2. Prepare the repair and blend area
Clean the repair and surrounding panel using the coating system’s approved process. Remove wax, grease, and dust before sanding. Feather the repair edges, use compatible primer or sealer, and prepare the area that will receive clearcoat according to the exact TDS.
A blend field is not just the visible color area. It is the prepared surface into which the basecoat will transition and over which the clearcoat procedure must work.
For the preparation sequence, link to paint prep before base coat.
3. Plan the blend field
Plan enough prepared space for the color to fade gradually without ending at an obvious boundary. The required area depends on the color, repair size, panel shape, and coating system. Special-effect colors may need more room than some solid colors.
Manufacturer procedures may specify minimum blend widths for particular basecoat families. Treat any 12-inch or 24-inch example as system-specific guidance, not a universal rule. Avoid placing the transition in a broad, highly visible area when a natural break line or panel edge is available.
4. Apply basecoat gradually
Apply full coverage where the repair requires it, then extend the color into the blend field with controlled passes. Reduce the concentration of new color as you move outward rather than stopping the spray at a hard line.
Keep the gun at a steady distance, use even overlap, and maintain a consistent travel speed. Do not flick the wrist at the edge to make the color disappear. Use the movement allowed by the product procedure and repeat it on the test panel first.
5. Check color and effect-pigment orientation
Metallic and pearl finishes change with gun angle, distance, overlap, film thickness, and flash time. If the paint system specifies a control coat, blend mixture, or wet-bed method, use that method exactly as written. These techniques are product-dependent.
6. Allow the basecoat to flash
Observe the basecoat’s flash time between coats and before clearcoat. Do not rush into clear while the basecoat is outside the required condition, and do not exceed the permitted recoat window without following the manufacturer’s recovery procedure.
How to Blend Basecoat Without Leaving a Hard Edge
A hard edge usually appears when the color ends abruptly or too much material accumulates at the transition. The practical controls are planning, film build, and repeatable gun movement.
|
Control |
What to watch |
|
Blend-field size |
Leave enough prepared space for the color to reduce gradually. |
|
Film build |
Do not add extra basecoat simply to make the fade look safer. |
|
Gun distance and angle |
Keep both stable across the entire blend pass. |
|
Overlap and travel speed |
Use a steady rhythm and avoid slowing at the outer edge. |
|
Inspection light |
Check the basecoat from more than one angle before clearcoat. |
Can You Blend Car Paint Without Blending Clearcoat?
Basecoat and clearcoat perform different jobs. The basecoat provides color and effect; the clearcoat supplies gloss, protection, and much of the finished surface durability. A successful color blend therefore does not mean the clearcoat can stop at the same point.
Many repair procedures require clearcoat to extend across a specified panel area and terminate at an approved edge or break line. Some systems allow localized clear repairs, but they should not be treated as universally suitable. Check the clearcoat TDS before planning where the clear will end.
Before working with a two-component clear, review the 2K clear coat safety guide.
Spray Gun Blending Tips for More Consistent Results
Equipment helps when the fan, air supply, nozzle, and fluid delivery are predictable. It does not replace color matching or preparation.
The PRD-725 spray gun review is a useful product reference for controlled automotive application. Match the nozzle and pressure to the basecoat system and repair size, and confirm compressor capacity before spraying.
For pressure setup, use the spray gun air pressure regulation guide. For metallic and pearl application, the metallic paint application guide provides a related process reference.
Most Common Automotive Blending Mistakes
- Starting with an inaccurate color formula.
- Using too small a blend field for the color or repair size.
- Applying too much basecoat at the blend edge.
- Changing gun distance, angle, or speed in the middle of the pass.
- Ignoring flash time or the maximum recoat window.
- Using clearcoat to hide a visible basecoat boundary.
Frequently Asked Questions
How do you achieve an invisible transition when blending car paint?
Start with an accurate color match and spray-out card, prepare the repair and blend field, then apply basecoat in controlled passes that reduce color concentration gradually. Keep the gun movement consistent and follow the flash-time instructions.
What is the blending technique in automotive refinishing?
It is a method of transitioning new basecoat into an adjacent prepared area to reduce visible differences in color and effect-pigment orientation.
What are the most common mistakes when blending paint?
Common mistakes include a poor formula match, too small a blend field, excessive material at the edge, inconsistent gun movement, and incorrect timing.
How do you blend basecoat without leaving a hard edge?
Apply full coverage in the repair area, then extend the color gradually into the prepared blend field with consistent overlap. Do not end the color in a sharp line.
Can you blend car paint without blending clearcoat?
The basecoat may be blended into an adjacent area, but clearcoat must still follow the approved coverage procedure. Many systems require clearcoat to reach a panel edge or defined break point.
Final Takeaway
A professional automotive blending technique combines accurate color matching, proper surface preparation, a planned blend field, and repeatable spray application. The goal is a natural transition, not a wider area used to hide a poor match.
Use a test panel when needed, follow the basecoat and clearcoat procedures for flash and coverage, and correct any visible basecoat edge before moving on. A suitable spray gun supports consistency, but the final blend depends on the entire refinishing process.
Share:
Can I Spray Clearcoat the Next Day Over Basecoat?