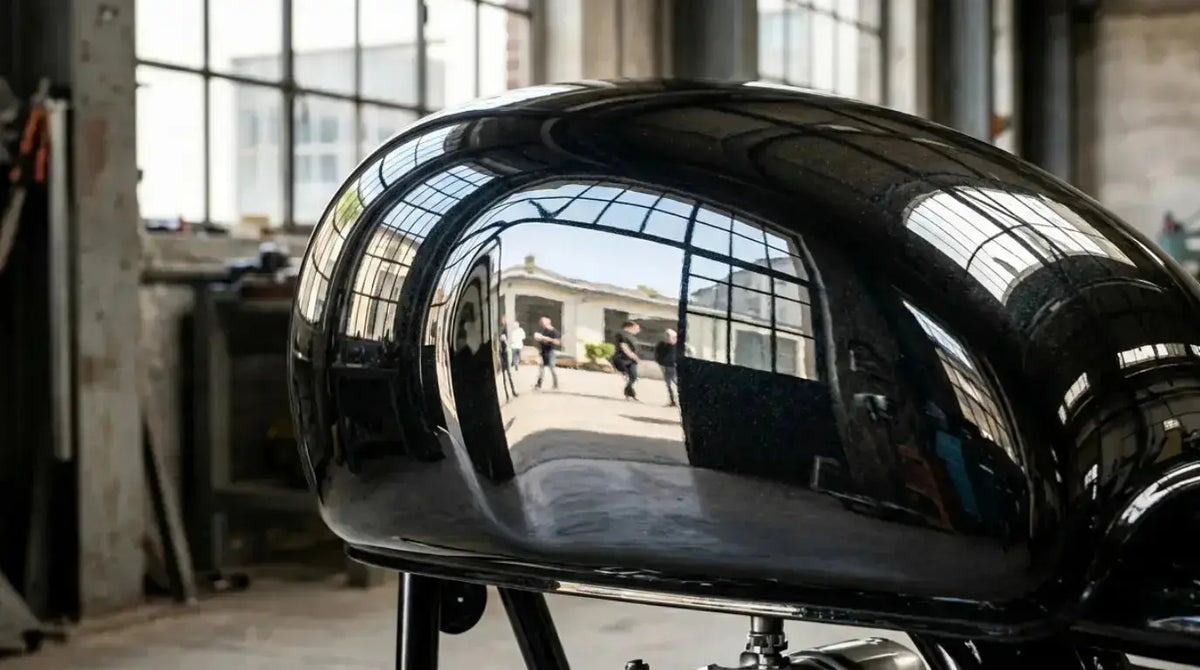
When it comes to automotive finishes, few effects capture attention quite like a reflective clear coat. Whether you're looking to create a show-stopping mirror finish, enhance nighttime visibility, or simply add a unique dimension to your paint job, reflective clear coats offer possibilities that standard clear coats simply cannot match.
But what exactly is reflective clear coat paint? How does it differ from a regular clear coat? And most importantly, how do you apply it correctly to achieve that head-turning, reflective effect? This guide covers everything you need to know.
What Is Reflective Clear Coat Paint?
Reflective clear coat is a specialized transparent topcoat formulated to reflect light in a unique way. Unlike standard clear coats that simply provide gloss and protection, reflective clear coats contain microscopic reflective particles—typically glass beads, metallic flakes, or specialized pigments—that bounce light back toward the source.
This creates several distinctive effects:
-
Enhanced Visibility: The reflective properties make the surface highly visible at night when illuminated by headlights.
-
Mirror-Like Finish: When applied properly, these clear coats can produce a brilliant, almost chrome-like reflective surface.
-
Heat Reduction: Some reflective clear coat compositions are designed to reduce solar heat absorption, keeping vehicle interiors cooler.
Reflective clear coats are used across multiple applications—from automotive and aerospace finishes to custom motorcycle paint jobs and even traffic safety markings.
How Reflective Clear Coat Works
The science behind reflective clear coats is straightforward but effective. The coating contains tiny reflective elements—often glass microspheres or metallic particles—that are suspended in the clear resin.
When light strikes the surface, these particles reflect it back in the direction it came from (retroreflection) or scatter it in a way that creates a brilliant, mirror-like appearance. The key to achieving this effect lies in two factors:
-
Particle Density: The concentration of reflective particles determines how intense the reflective effect will be.
-
Film Thickness: Applying the clear coat too heavily can cover the reflective particles and diminish the effect.
Reflective Clear Coat vs. Regular Clear Coat
Choosing the Right Reflective Clear Coat
Not all reflective clear coats are created equal. When selecting a product for your project, consider these factors:
1. Type of Reflective Effect
-
Retroreflective: Contains glass beads that reflect light back to its source—ideal for visibility and safety applications.
-
Metallic/Chrome Effect: Uses metallic flakes for a brilliant, mirror-like finish.
2. Durability Requirements
Look for formulations that offer:
-
UV protection to prevent yellowing
-
Scratch and abrasion resistance
3. Compatibility
Ensure the reflective clear coat is compatible with your base coat and the overall paint system you're using. For model-specific performance, setup, and application context, see our clear coat application on large panels.
Step-by-Step Application Guide
Applying reflective clear coat requires precision and care. Follow these professional steps for the best results:
Step 1: Surface Preparation
-
Sand the base coat with 800 to 1000-grit sandpaper for optimal adhesion.
-
Clean the surface thoroughly with a silicone remover.
-
Use a tack rag to remove any final dust particles.
Step 2: Choose the Right Spray Gun
The quality of your application depends heavily on your equipment. For reflective clear coats, you need a spray gun that provides:
-
Superior Atomization: To ensure the reflective particles are distributed evenly.
-
Consistent Spray Pattern: To avoid uneven film thickness that can dull the reflective effect.
-
Precise Control: To apply thin, even coats without overloading the surface.
For this critical task, the PORPHIS PRD-817 is an outstanding choice. Engineered for professional automotive work, it's specifically designed to handle clear coat applications with precision:
-
Superior VS Atomization: The Very Smooth atomization produces an incredibly fine and even spray pattern, ensuring the reflective particles are laid down uniformly without clumping or uneven distribution.
-
Optimized for Clear Coats: With a 1.3mm nozzle and recommended 18‑26 PSI inlet pressure, the PRD‑817 gives you the control to apply the thin, even coats that reflective clear coats require.
-
Professional Build: The precision engineering ensures consistent performance, so you can focus on your technique rather than fighting your equipment.
Step 3: Mixing and Preparation
-
Follow the manufacturer's mixing instructions precisely.
-
Use a mixing stick and strainer to ensure the paint is thoroughly mixed and free of lumps.
-
Important: Do not over-thin the clear coat, as this can affect the reflective particle suspension.
Step 4: Application Technique
The most critical rule when applying reflective clear coat is avoiding a heavy wet film.
-
Apply Thin Coats: Apply 2-3 light, even coats. A heavy wet film will cover the reflective glass beads and reduce the reflectivity of the finish. For model-specific performance, setup, and application context, see our zero-orange-peel show-car finish.
-
Maintain Proper Distance: Hold the spray gun 6-8 inches from the surface.
-
Use 50% Overlap: Overlap each pass by 50% to ensure even coverage.
-
Allow Flash-Off: Allow each coat to flash off according to the manufacturer's recommendations before applying the next coat.
Step 5: Curing and Finishing
-
Allow the clear coat to cure fully—typically 12-24 hours or as specified by the manufacturer.
-
If needed, you can lightly sand and polish the cured clear coat, but be cautious not to remove too much material and expose the reflective particles.
Common Mistakes to Avoid
1. Applying the Clear Coat Too Heavily
This is the most common mistake when working with reflective clear coats. A heavy wet coat will cover the reflective particles and diminish the reflective effect significantly.
2. Inconsistent Technique
Uneven spray patterns or inconsistent distance from the surface can result in patches with different levels of reflectivity.
3. Improper Surface Preparation
Inadequate sanding or cleaning can lead to adhesion problems, causing the clear coat to peel or flake over time. For model-specific performance, setup, and application context, see our P1500 sanding before 2K clear coat .
4. Using the Wrong Equipment
A low-quality spray gun with poor atomization will struggle to distribute the reflective particles evenly, leading to a patchy, inconsistent finish.
Frequently Asked Questions
Q1: Can I apply reflective clear coat over any base coat?
A: In most cases, yes. However, always check the manufacturer's recommendations for compatibility. Reflective clear coats are typically designed to work over standard automotive base coats.
Q2: Will reflective clear coat change the color of my paint?
A: It can. The reflective particles can alter the perceived color, especially in different lighting conditions. Always test on a scrap panel first.
Q3: How many coats of reflective clear coat should I apply?
A: Typically 2-3 light coats. Applying more than this can reduce the reflective effect by covering the particles.
Q4: Can I polish reflective clear coat?
A: Yes, but be cautious. Aggressive polishing can remove the clear coat and expose the reflective particles, potentially dulling the effect.
Q5: Is reflective clear coat durable?
A: High-quality reflective clear coats offer excellent durability, including UV protection, chemical resistance, and scratch resistance.
Final Verdict
Reflective clear coat paint offers a unique way to enhance your automotive finish with a mirror-like, light-bouncing effect that standard clear coats simply cannot match. Whether you're aiming for a show-quality mirror finish or enhanced nighttime visibility, the key to success lies in proper preparation, careful application, and the right equipment.
By using thin, controlled coats and a professional-grade spray gun like the PORPHIS PRD-817, you can achieve a stunning reflective finish that turns heads and stands the test of time.
Share:
Paint Prep Before Base Coat: The Professional’s Guide to a Flawless Finish
Mastering Spray Gun Air Pressure Regulation: A Comprehensive Guide for Automotive Painters