1. Strategic Assessment: Repair Viability and Location Selection
Localized spot blending is a calculated compromise in automotive refinishing.
While the industry standard involves clear-coating an entire panel to ensure structural and aesthetic uniformity, spot repair offers a resource-efficient alternative primarily suited for daily drivers or minor cosmetic restorations.
As a professional, it is imperative to manage expectations: a spot blend is rarely "perfect" and carries an inherent risk of eventual failure or edge mapping over time.
The objective is to minimize the visibility of the "dry edge"—where new clear coat meets the old—by utilizing the vehicle's geometry to hide the transition.
The feasibility of a spot repair depends entirely on the location.
Attempting a spot blend in the center of a large, flat panel like a hood or a door is a setup for failure; without a natural break-off point, the transition will remain visible and look unprofessional.
Conversely, edges, corners, and bumper covers provide inconspicuous areas where the clear coat can be "washed in" or terminated at a structural contour.
Selection Matrix: Spot Repair vs. Full Panel
|
Repair Location
|
Recommendation
|
Consultant’s Rationale
|
|---|---|---|
|
Panel Corners / Bumper Edges
|
Recommended
|
Low-visibility; easier to hide the blend on a small surface.
|
|
Complex Bumper Curves
|
Recommended
|
Contours naturally mask the transition from new to old clear.
|
|
Existing Body Lines
|
Recommended
|
Provides a natural "break-off point" to terminate the clear coat.
|
|
Center of Hood / Door
|
Discouraged
|
"Not going to look right." High risk of visible dry edges.
|
|
Middle of Quarter Panel
|
Discouraged
|
"Not worth it." Large flat surfaces make a seamless blend impossible.
|
Once the repair location is deemed viable, the technician must transition to a rigorous surface preparation protocol to ensure mechanical adhesion.
2. Multi-Stage Surface Pre-treatment and Sanding Refinement
Precise grit progression is the foundation of a durable repair. Skipping steps or using improper techniques leads to "metallic settling," where paint pigments sink into deep scratches, resulting in a mottled or "dirty" appearance. To maintain a level profile without creating finger-grooves, all sanding should be performed using a soft foam backing pad or sponge.
The Three-Stage Sanding Process
-
320 Grit (Initial Leveling):
Use a 320-grit abrasive on a foam pad to smooth the primer. This stage removes the bulk of surface imperfections and establishes the repair profile. -
600 Grit (Refinement):
Refine the 320-grit scratches using 600-grit flexible sandpaper. This ensures that metallic base coats lay flat. Crucially, the 600-grit sanding must extend slightly past the intended paint area to the very edge of where the clear coat blend will begin. -
1500 Grit / Gray Scuff Pad (Perimeter Prep):
Use a gray scuff pad (equivalent to 1500 grit) to prepare the "over-travel" area. This sanding must extend well past the intended clear coat blend zone. This ensures the new clear coat adheres to a prepared surface, allowing the transition edge to be buffed out easily without the risk of peeling.
Decontamination Protocol
Before masking, the area must be scrupulously cleaned using 70% isopropyl alcohol. Spray the area and wipe it dry with a lint-free cloth to remove sanding dust, skin oils, and residues. A pristine surface is non-negotiable for ensuring masking tape adhesion and preventing paint contamination.
3. Advanced Masking: Utilizing "Soft Edges" and Body Lines
Masking for spot repairs requires a "soft edge" approach to avoid creating a hard paint ridge. A hard line at a blend point is a permanent defect that cannot be polished away.
Technique Deep-Dive
-
The Paper Loop:
To prevent overspray from migrating into vehicle interiors or onto adjacent panels, loop a piece of paper across any open gaps or jams. This creates a protective barrier while maintaining access to the repair edge. -
Lift Tape (The Flap Method):
Fold the top half of the tape over itself (sticky-to-non-sticky) to create a flap. When applied near the blend zone, the clear coat "creeps" under the flap during application, resulting in a naturally tapered edge. -
Foam Tape (The Body Line Buffer):
Apply foam tape precisely on the vehicle’s body line. The rounded, non-sticky edge of the foam creates a soft break-off point. Utilizing the shadow or contour of a body line as a natural termination point is always superior to blending in open space.
Proper masking defines the workspace and sets the stage for a controlled application of the base coat.
4. Precision Base Coat Application and Spray Gun Calibration
Base coat application aims for full opacity over the primer while keeping the "dry" overspray cloud to an absolute minimum. Excess overspray in the blend zone will ruin the clear coat transition.
Equipment Calibration
-
Air Pressure:
Set to a low 10 PSI. This low pressure is critical to prevent a wide cloud of dry overspray from settling on the surrounding panels. -
Fan & Fluid:
Narrow the fan pattern and reduce fluid volume to maintain total control over the small repair area.
Technician’s Guide to Trigger Feathering
Effective blending requires "trigger feathering." Rather than using the trigger as an on/off switch, use variable finger pressure to mist the edges lightly while building color depth in the center. This "light-to-heavy" physical motion ensures the primer is hidden without creating a visible "halo" or a hard edge of color.
Verification
Allow a full flash-off period between coats. Before proceeding to clear coat, use a high-intensity light to verify the color is uniform and the primer is completely covered.
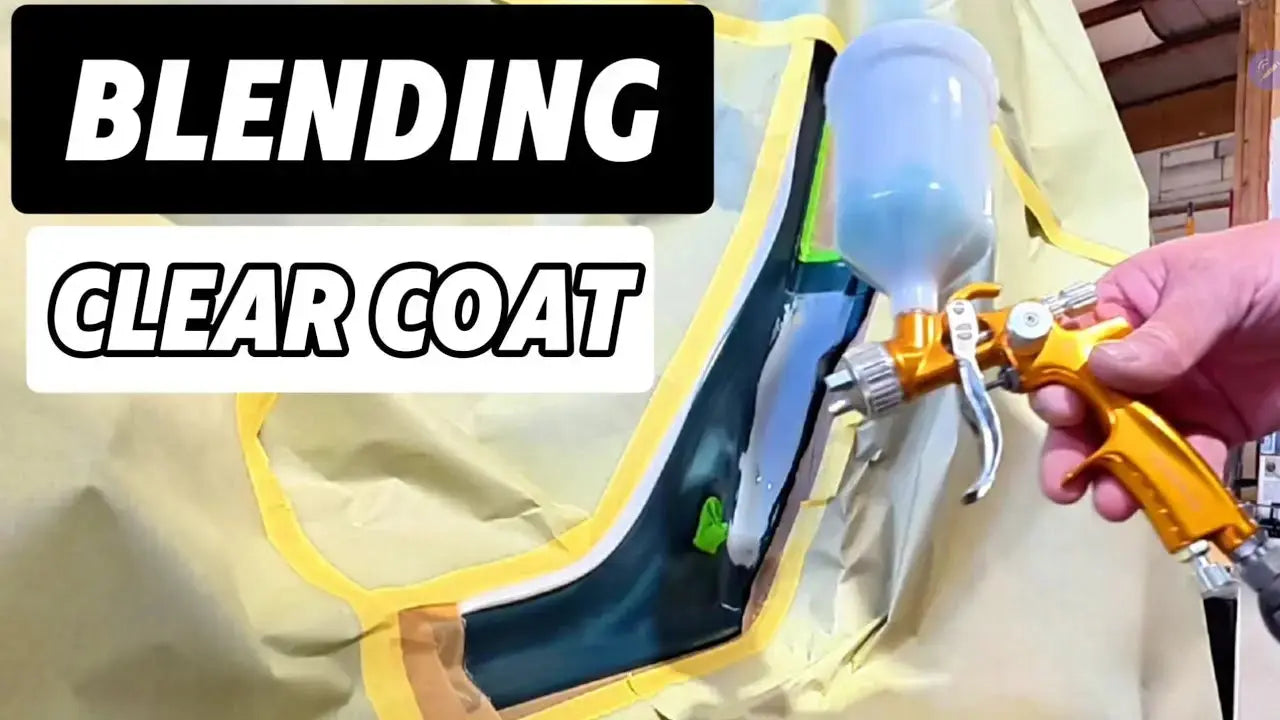
5. Clear Coat Layering and Chemical Blending Techniques
Clear coat provides the final gloss and UV protection. A seamless transition is achieved through a two-stage application followed by a chemical "wash-in."
The Two-Coat Process
-
Coat 1 (Tack Coat):
Apply a light "introduction" layer of clear. This provides a tacky foundation for the subsequent coat to "bite" into. -
Coat 2 (Flow Coat):
Apply a fuller layer for maximum smoothness. Ensure the clear looks "wet" and uniform, stopping exactly at the prepared 1500-grit transition zone or foam tape line.
The "Chemical Melt"
Immediately following the flow coat, apply a blending agent (e.g., U-Pol #9). This product is essentially "reducer in a can." Spray a light mist over the transition edge; the solvent "washes in" the dry edge of the new clear, softening it and allowing it to melt into the original finish.
Critical Action:
While the clear coat and blending agent are still wet, use both hands to carefully pull the foam tape or lift tape. Using both hands ensures a steady, clean release and prevents the tape from snapping back into the wet paint, which would ruin the blend.
6. Final Refinement: Polishing and Quality Assurance
The "invisible" nature of a professional spot repair is dictated 90% by the 1500-grit preparation and only 10% by the final polish. Once the clear coat has fully cured, mechanical refinement is used to remove the micro-scratches from the scuffed perimeter.
Post-Paint Refinement
Use a small-diameter polisher and a fine finishing compound to work the transition zone. Because the clear was applied over a 1500-grit scuff, the "dry edge" will level easily, and the remaining scuff marks in the over-travel area will disappear, leaving a high-gloss, seamless transition.
Technical Checklist for Verification
-
[ ] Absence of Hard Edges:
No tactile ridge is present; the transition is smooth to the touch. -
[ ] Body Line Integrity:
Clear coat terminates cleanly at the structural break-off point without buildup. -
[ ] Scuff Mark Removal:
All 1500-grit scratches in the perimeter have been fully polished out. -
[ ] Overspray Contamination:
Adjacent panels are free of dry overspray or "dusting." -
[ ] Color Uniformity:
No "halo" effect or metallic settling is visible in the base coat.
Share:
Professional Standardized Guide: Vertical Spraying & Pressure Control for Complex Metallic and Pearl Coat
PORPHIS PRD-715 Evaluation: Professional Spray Performance Without the Premium Price